
This technique shows how to create a pattern tile with edges that won’t be visible when the tile repeats.
1. Open the image that contains the area you want to use for a pattern tile.
image copyright www.atpm.com
2. Crop the image to the size and area you want the pattern tile to be.
3. Check the size of the file by holding down Option/Alt and selecting the size box in the lower left corner of the window. Make a note of the width and height pixel values.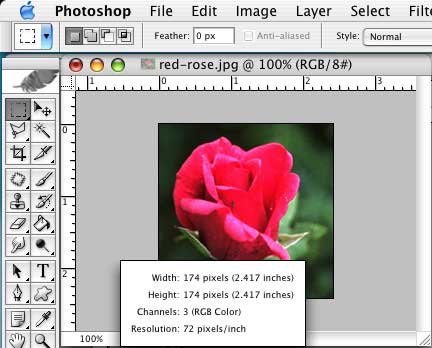
4. Choose Filter > Other > Offset. Select the Wrap Around option; for the horizontal andvertical values, enter approximately half the value of the width and height you noted in step 3.
5. Click OK. The Offset filter splits the image into four sections. Notice that the left half of the image completes the right half and the top half of the image completes the bottom half.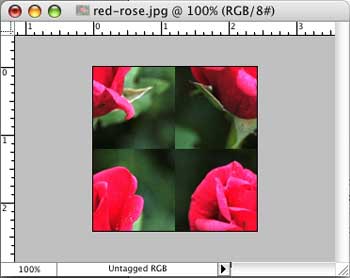
6. Now use the Clone stamp tool to blend the center seams between the four sections of the image. I use a soft-edged brush set at 50% opacity. The goal is to try to blend the backgrounds of each rectangle together and to remove other elements that you don’t want to repeat.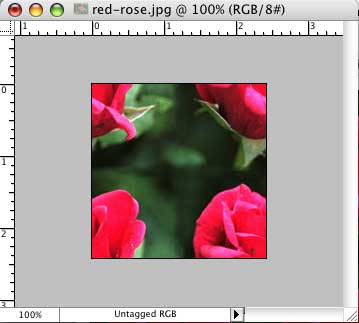
7. To put the finishing touches on the pattern tile, we must reverse the offset process. Choose Filter > Other > Offset. This brings up the filter dialog box last used. Add a minus before each of the pixel values to reverse the offset effect.Click OK.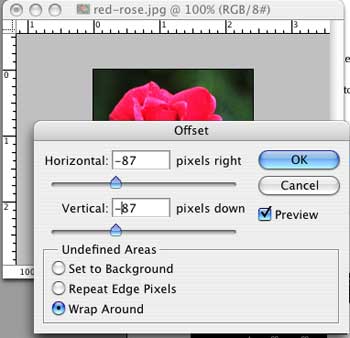
9. Next, test the pattern tile for any flaws. Choose Select > All (Command/Ctrl A); then choose Edit > Define Pattern.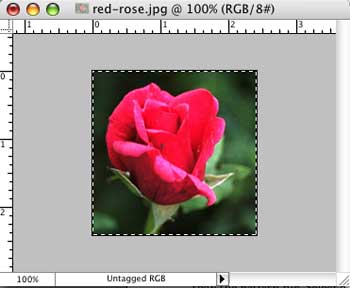
10. Create a new file to use as a pattern fill test. Make sure that the file is several times larger than the pattern tile. Select a large area (or the entire file), and choose Edit > Fill. From the Use pop-up menu, choose Pattern. Use a Mode of Normal and an Opacity of 100% so that you can easily identify any problems in the pattern. Click OK.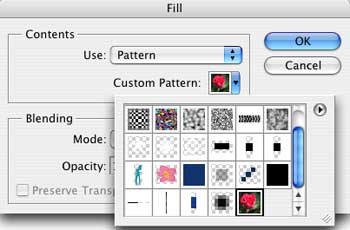
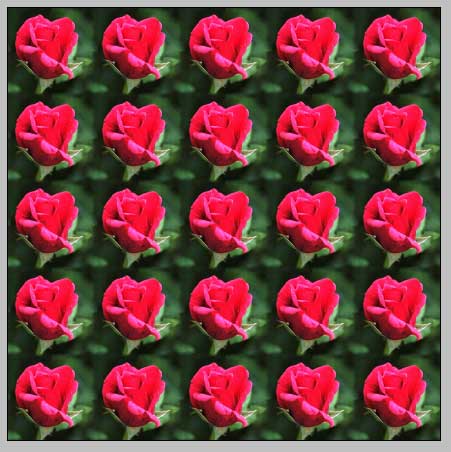
11. Walla..and you're done..you can create piece of art that you like according to your creativity..here's mine
The Live Trace feature has received a lot of attention because it makes creating vector graphics out of bitmap objects a fast and easy process.Live Trace may very well end up being your favorite new feature. It's certainly the one that has garnered the most attention and praise from the technology press. Import a bitmap graphic including photos into your Illustrator document, and then use Live Trace to convert it to a vector graphic. After the conversion has taken place, you can edit the object as if you created it yourself in Illustrator. Live Trace also works on scanned graphics. That means those great ideas you have that end up drawn on cocktail napkins no longer need to be tracedor even worse, redrawnon the computer.
- Just scan the drawing,
- import it into Illustrator,
- and convert it with Live Trace.
In three steps you're done!
The Filter Gallery is a separate interface used to quickly apply filters in Preview window.
If you don't like the way a particular filter is working, click a category and try on another filter.
Many filters use the Filter Gallery as their interface, so you are going to encounter it frequently. If you wish to turn off the gallery to free screen space for the preview, click the small double arrow button. The thumbnails of the filter gallery hide until you click the arrow again.
The Filter Gallery contains the preview on the left, categories of filters in the middle pane, and the filter controls on the right side.
In a single image or layer, you can use the Filter Gallery cumulatively: One filter can be used on top of another filter, on top of another, and so on. You can also apply the same filter several times. Under the filter controls appears a list of filters that are applied. Beneath that, at the very bottom-right corner, are buttons to create new effect layers or delete effect layers. You click the New Effect Layer button, and the list above populates with a new filter. When you click that list item, you can then find a filter from the gallery drop-down list of filters. Each filter builds on the one underneath it. For a different effect, you can change the stacking order of the filters by clicking and dragging the filter up or down through the list. You click the trash icon to delete an effect layer you have selected. When you click OK, your single or multiple filters are applied to the image.
You can show a non printing grid by using View-->Show grid
Once the grid is showing, just go to the preferebces dialog by pressing Command - K ( PC - Control-K) and change the Constrain Angle field from 0 degrees to whatever angle you want.
click to enlarge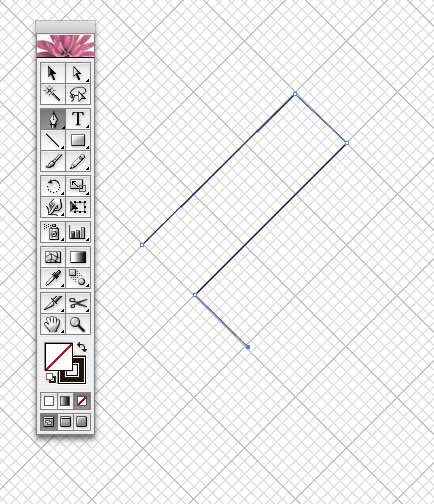
Hold down the Shift key to force tools to precisely follow the angled grid. Once you done, put it back to zero..that's it :-)